Tutorial - Advanced Drawing
Now that we have learnt how to draw a basic 'Hello, World!' to the screen using UCGUI, and how to position components, let's take a look at some more complex scenes.
In addition to the 'UI.Text(...)' initializers the 'UI' class also holds initiliazers for almost all native components in UCGUI.
Let's re-use the screen from before and add some more elements to our interface.
public override void Create(){
    UI.Image(Color.purple)
    .Maximize()
    .Parent(canvas);

    UI.Text("Hello, World!")
    .FitToContents()
    .Color(Color.white)
    .Bold()
    .Parent(canvas);

    UI.Button("Press Me", () => {
        // ... action on press
    }).OffsetY(-150).Parent(canvas);
}
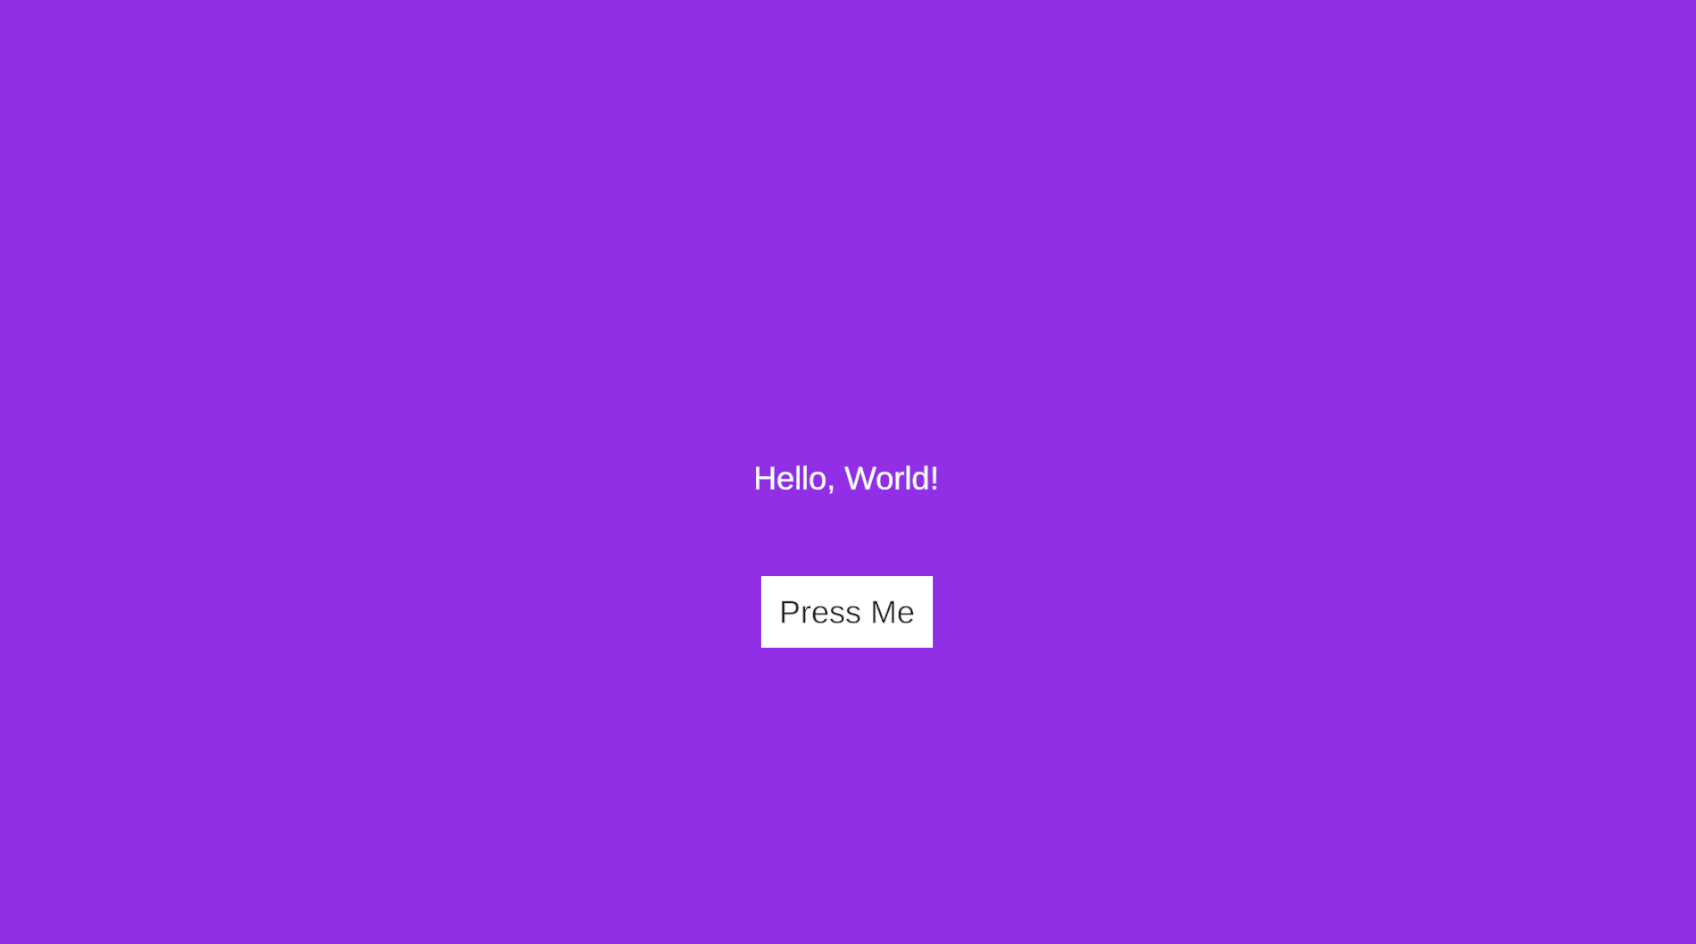
This example introduces a couple of new concepts: Images and Buttons.
An image is essentially just a glorified wrapper around Unity's built in Image component. You can change sprite, color etc.
via UCGUI but thats mostly it. The UI.Image(...) initializer accepts a Texture2D, a Sprite or even just a color; like in the example above.
In combination with the Maximize() call, which stretches a given component to completely fill its parent's rect, this makes for a quick
and dirty solution for a background color. As the image in our example is parented to the canvas it conveniently fills the
entirety of the screen's background in our desired color.
The order of parenting components determines the hierarchial layering order. To create a background we thus need to parent it to the canvas first, allowing all following elements parented to the same component (here: the 'canvas') to be layered on top of the image.
UI.Button(...) creates a button with some text and a handler to inject press functionality.
There are multiple initializers for a button, but this is a simple way of creating a button,
and suffices for now.
Custom Components
You might want to build fully custom components with custom functionalities. The possibilities are endless here and your imagination is the only thing holding you back (and maybe some bugs from my end, or Unity's layout system. I'm still not quite sure how something can be as bad as the Horizontal- and VerticalLayoutGroup MonoBehaviours).
I have created a mini example, showcasing the basic flow of how one would set up such a component.
It is probably most helpful however to simply take a look at the implementation of UCGUIs components directly.
If you are ever unsure of how a certain component achieves something you can just Ctrl + Left onto the class name to
go to the class' definition and implementation.
Here a small example for a custom component.
public class MyComponent : BaseComponent {

    private bool _isCool = false;

    public MyComponent SetCool(bool c){
        _isCool = c;
        return this;
    }

    public void Start(){
        if (_isCool){
            // ...
        }
    }

}
Even though small this example shows a lot about the inner workings of UCGUI.
First of all, all components share a common ancestor: the BaseComponent. Think of it like
the MonoBehaviour equivalent of UCGUI. Every new script or component you might want to
add will eventually inherit from it, one way or another.
Second, we can observe the fluent pattern in action. It is actually quite trivial to implement, just make the return type your own class name and return yourself after you have completed the functions desired computation.
One downfall of having the fluent pattern implemented like this is that polymorphism comes to bite you
when you try ordering operations incorrectly. For example, if we now introduce a new component MyComponent2,
which inherits from MyComponent, and also has a fluent-style function returning itself, we might run into some issues.
When we create a new instance of our derived class it obviously has access to both methods. Its new internal
one and SetCool. However, order of operations matter here! If you first call the new method and afterwards
'SetCool' everything is fine, as derived returns derived --> still has access to 'SetCool'.
The problem arises when we try to do it the other way around.
If the dervied class calls 'SetCool' first after instantiation, it will now
be cast to an instance of 'MyComponent', which no longer has access to the fluent call of the 'MyComponent2' class.
There are three ways to circumvent this:
- Reorder your operations to be applied in order from most derived in the hierarchy to most generic.
- Use the
.Cast<T>extension to cast your component back down. (Make sure it is actually a valid cast!) - Create a static extension class which offers the same functionalities for your derived classes but via generics, allowing the return values to never change type. This is actually how UCGUI's UI class does it.
After this pretty long warning we can now ask ourselves, 'But how can I put my component onto the screen?'. The static UI builders you have gotten to know until now are actually just wrappers around the real way of creating components in UCGUI: A generic instantiator.
MyComponent myComponentInstance = UI.N<MyComponent>().SetCool(true).Parent(canvas);
This generic instantiator is at the heart of UCGUI.
Any class inheriting from 'BaseComponent' can be instantiated via this one method.
The N stands for 'New', after which you simply insert the class name of the
element you want to instantiate.
Jumping back and taking a another look a the example higher up I want to highlight another oddity you might have realized. Why are we using 'Start' and not 'Awake' here? A keen reader might already have an idea, as the related issue was already hinted at previously. The reason is quite simple:
During the 'Awake' phase of your custom component (which you can override from the BaseComponent, as it is marked virtual) _isCool has not yet been set to true.
All function calls after the instantiation using '.N<T>' will be executed after Awake. Thus, we can only read out the true
value of '_isCool' during Start!
Again, a small recap of what we have learnt so far:
- UCGUI also has initiliazers for images, buttons and a bunch more components which can help you to build your UI
- Different components have differnt functions to customize them, but they share some between all of them with the help of a generic fluent pattern extension class
- All UCGUI elements inherit from 'BaseComponent'
- For inheritence within fluent-style contexts, order of operations can matter!
- We have learnt how to define and instantiate fully custom components.
- We have learnt above the order of execution for functions on objects and why splitting some of your workload into 'Start' might be neccessary.